I've been super into ice pops (and making them) lately. I had some mango around the house, so of course I decided to come up with something with mangoes (my favorite fruit). I love mango and I didn't want to make it super complicated because they taste so great on their own. I think i did an awesome job; the orange juice really brings out the mango flavor!
These are super healthy with no extra sugar or other yucky stuff like you get from the store. All it's sweetness, nutrition, and wonderful texture comes from the ripe fruit! They are also packed with vitamin C! Two of these pops equal 122% of your daily vitamin C. I wouldn't mind vitamins if they all were in popsicle form!
This simple and easy recipe for mango pops really sends you away to a tropical paradise!
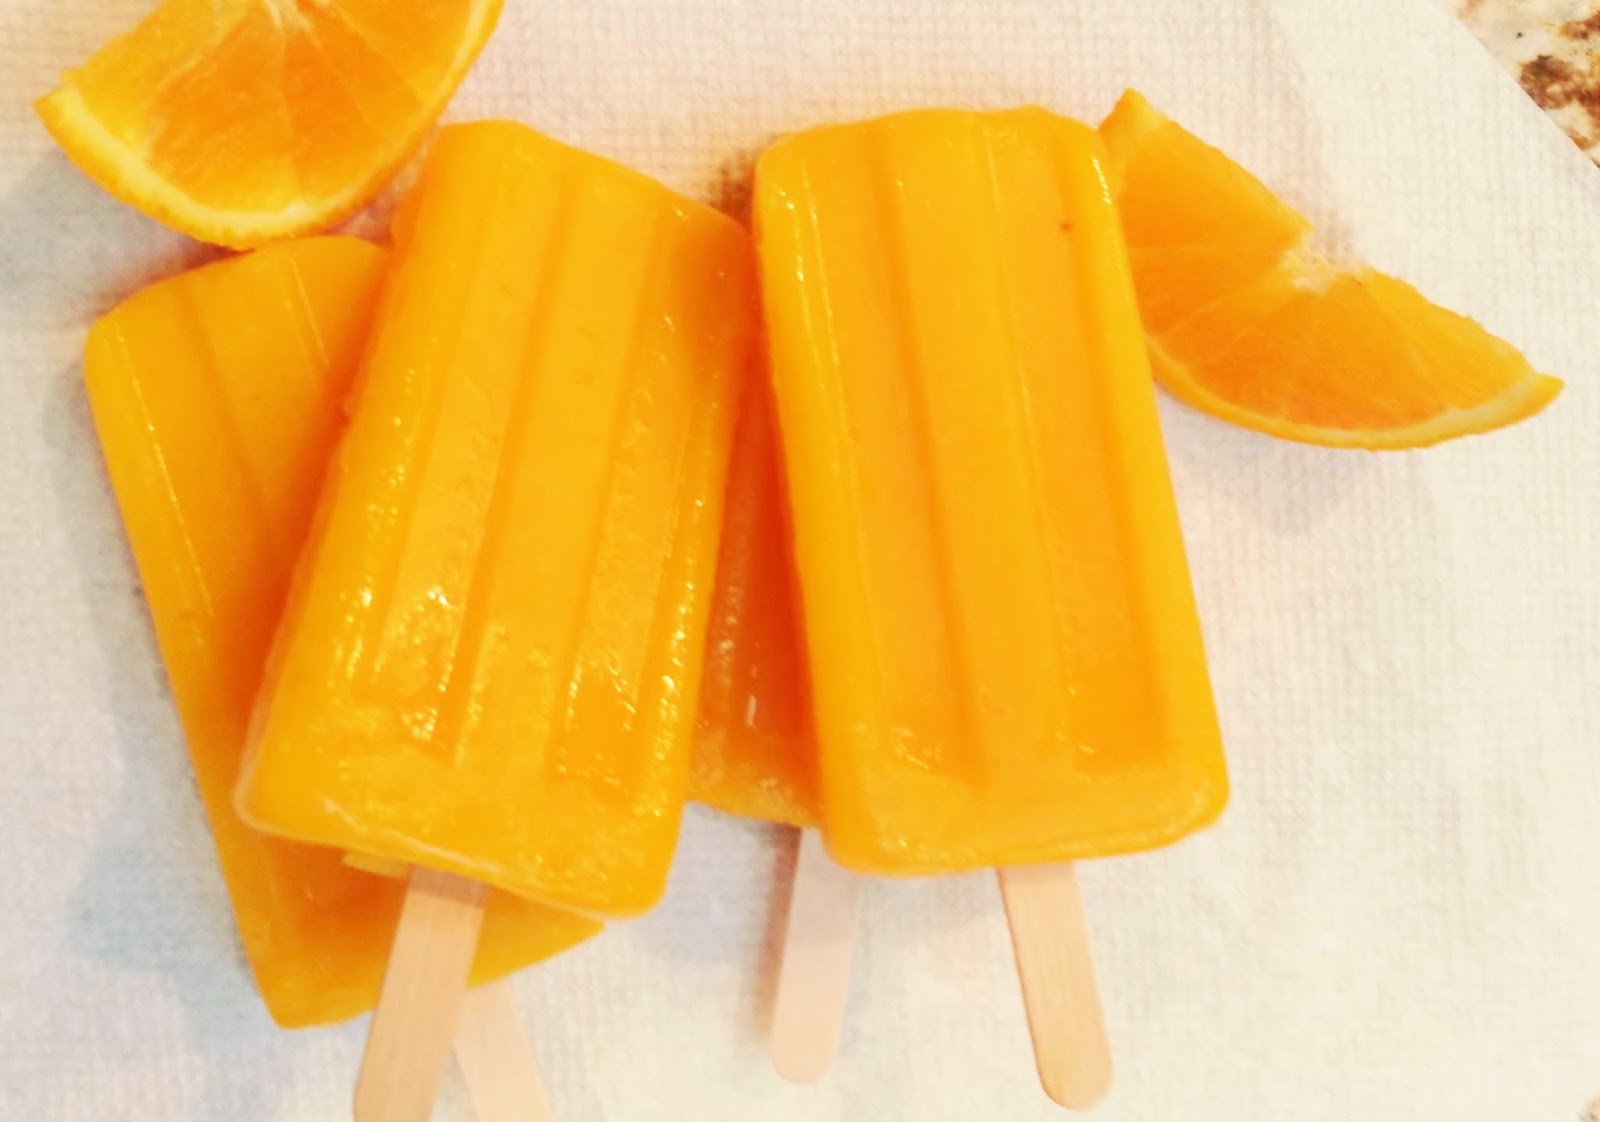
Tropical Mango Ice Pops
Ingredients
- 4 cups fresh mango chunks (two large mangoes)
- 1 cup fresh orange juice (two medium sized oranges)
Instructions
- Put the mango and orange juice into a blender and blend until pureed. You can leave some chunks if you like, but I just pureed mine all the way.
- Pour mixture into ice pop molds and place in the popsicle sticks.
- Freeze for 6-8 hours or until fully frozen (I do it overnight, so then it doesn't feel like I'm waiting for my ice pops because I'm asleep the whole time).
This recipe makes 10 ice pops (with this ice pop mold) at 51 calories per pop! I calculated this recipe on MyFitnessPal, so go ahead and add it to your daily intake!
I haven't tried it with frozen mango, but I will experiment in the future!
I haven't tried it with frozen mango, but I will experiment in the future!
If you try out this recipe with frozen mango (or fresh mango), please let me know how it went in the comments or on Google+.
Thank you for stopping by!
XOXO Shelly